A quick guide to how I created my own license plate mount. Unfortunately for us,
the Kizashi has a pretty nice looking front end, and some states require a front plate to be legal.
Lucky for me, I purchased my Kizashi from Pennsylvania which had not had hole drilled in the bumper.
My first option was to mount the plate below the bumper and have the plate stick up in front of the
lower grill, however the issue with this is that on steeper inclines like driveways or parking lot
entrances, the bottom of the plate would scrape and push the plate face down. To get around this,
I had decided to mount the plate in the tow hook location. But, nobody makes one for the Kizashi
so I needed to make my own! The project costed me under $30 total, it
should be less if you have items available already. I got my supplies from both Home Depot and
Advanced Auto.
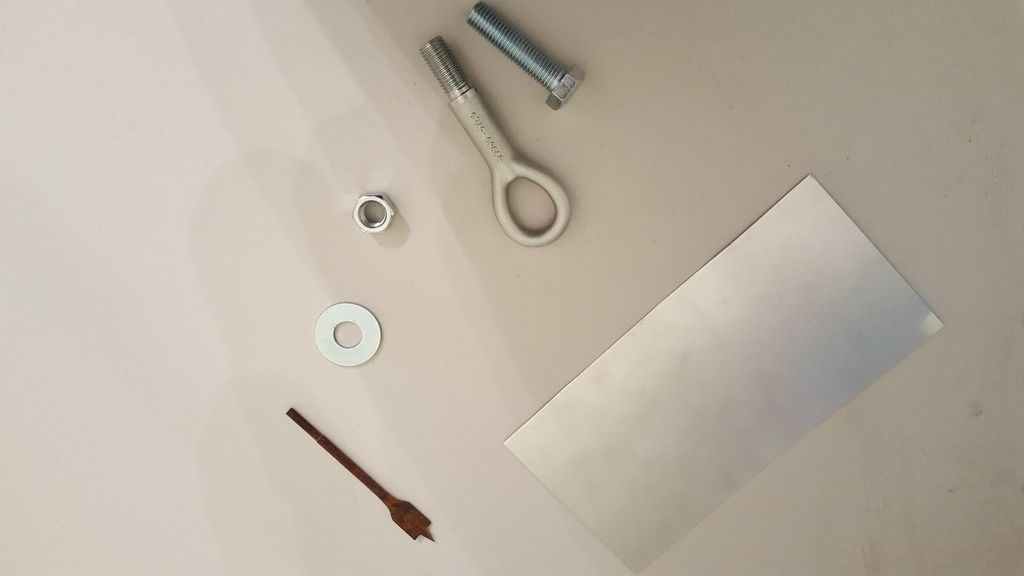
STEP 1) Buy supplies.
- 3/4" bolt, the length needs to be at least 4" long in order to screw far enough into the
tow hook eyelet and still clear the bumper. (<$3)
- (2) 3/4" nuts (50 cents a piece)
- (2) 3/4" washers (40 cents a piece)
- 12"x 12" sheet of aluminum ($8, or whatever material works for you)
- some sort of lubricant that will prevent the bolts from seizing/ rusting ($2-3)
- Drill with 3/4" drill bit to drill holes in the aluminum plate.
- Hammer and nail to create screw holes for the plate to screw into.
- Adjustable wrench helps
- license plate bracket ($5, should include the plate screws as well)
- some type of metal cutter, scissor type or saw work
STEP 2) Prep.
- Start off by removing the tow hook cover with a flat head with some type of padding to protect your paint (I used a folded napkin, lol)
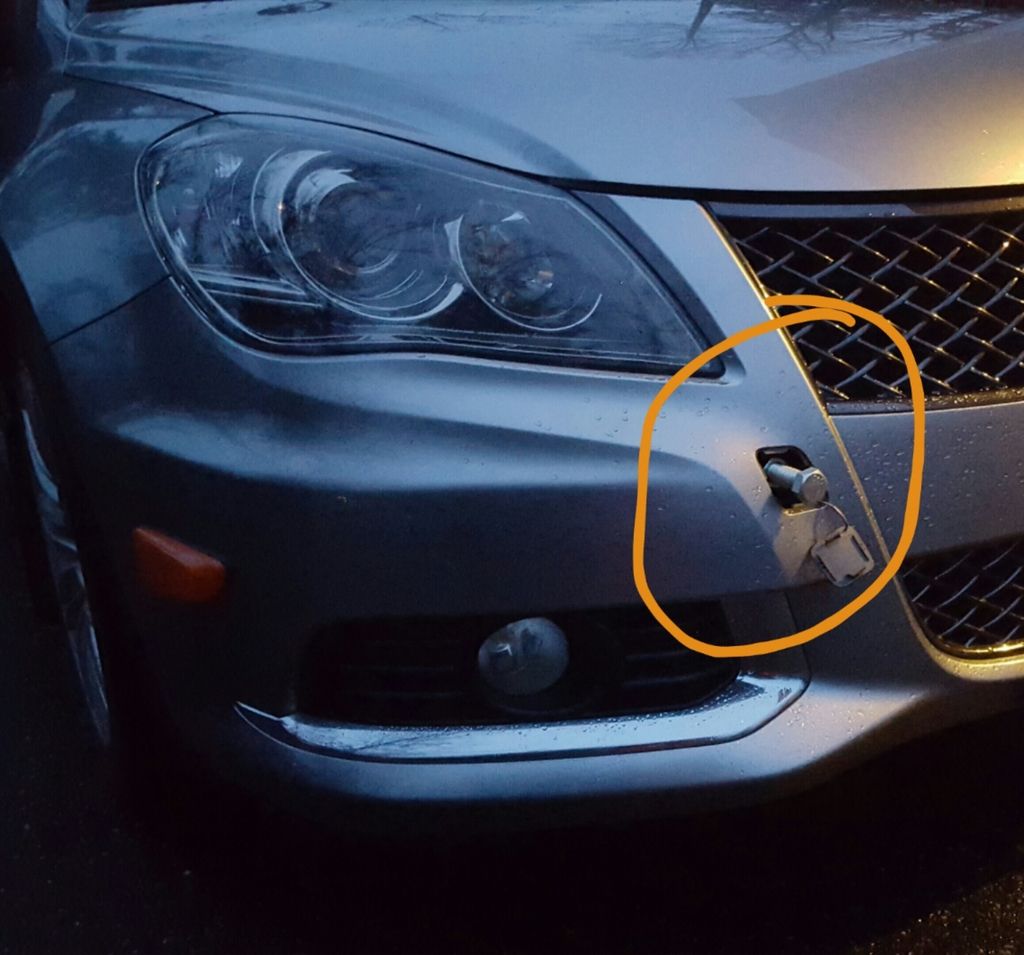
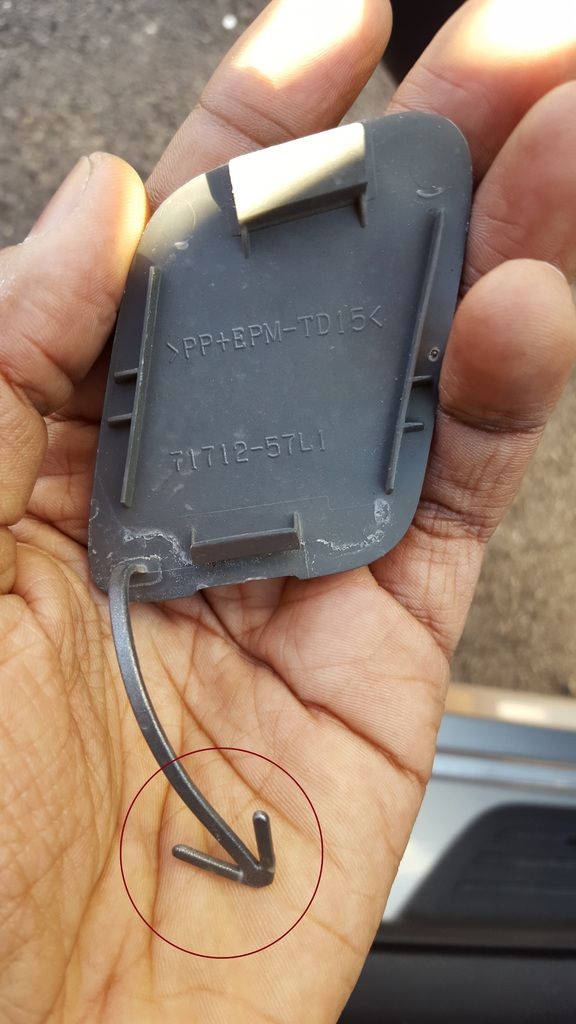
- Remove the cover by pressing in the tab on one side holding the cover on and slide out
carefully so as not to break it.
- grab your 12"x 12" aluminum sheet and measure 6 inches as a half way point. Cut the sheet
into (2) 12"x 6" plates. A (U.S.) license plate is 6x12 so this should just about cover the full plate back.
- Being careful about sharp edges, cut curved ends on each of the corners to round them off.
- Take the newly formed plate and take it to some sort of surface that you can punish. Grab
the license plate bracket (I used one from AA) as well as your nail and hammer. Line the bracket
and plate up on top of the surface and hammer 4 holes into the aluminum plate using the
bracket as a hole guide.
- Next, place the screws into the bracket and screw into the holes to hold them in place while
you do the next step.
- You will now need your drill and drill bit. Using them, you will need to cut a hole (or holes)
into the middle of the aluminum sheet. I eyeballed the placement of the drilled holes so I do not have exact
measurements for this. I decided on 3 holes because I was undecided on the exact placement I
wanted the plate to be.
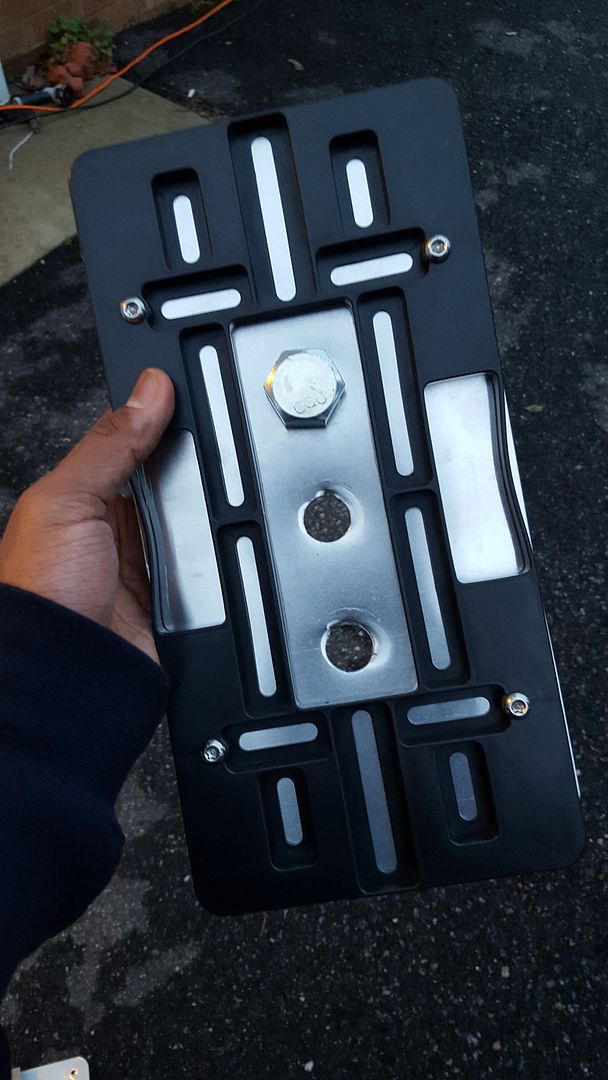
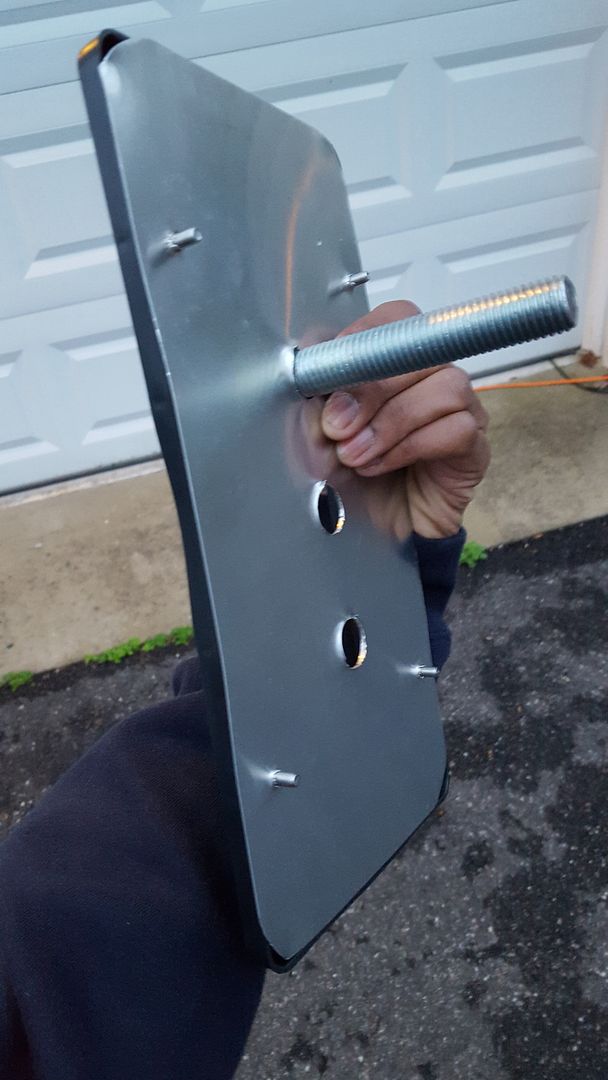
- As a result, the three holes were place about equidistant apart and this would allow
me to have the plate in the following positions (from driver's seat): left hole, middle hole, right hole.
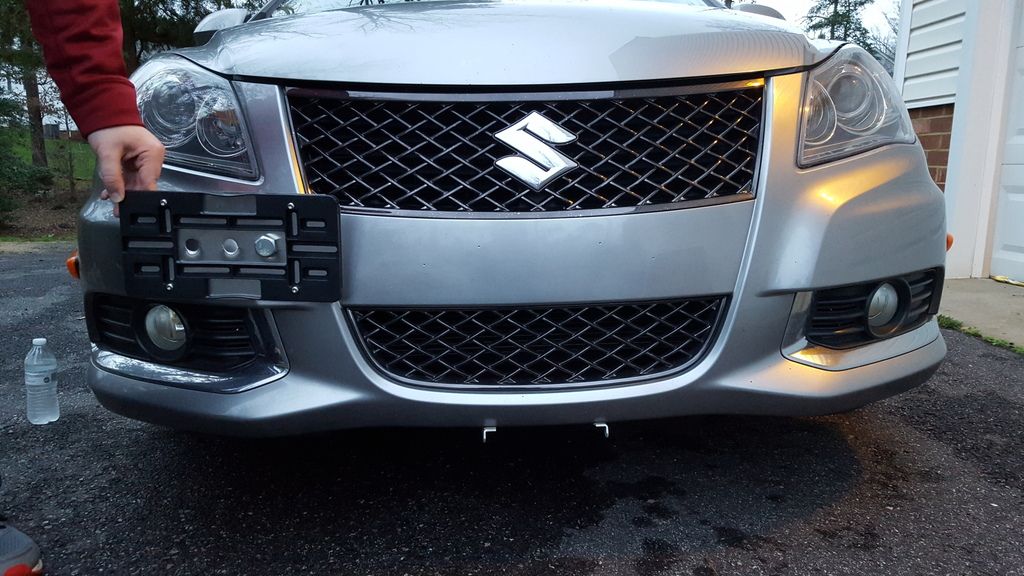
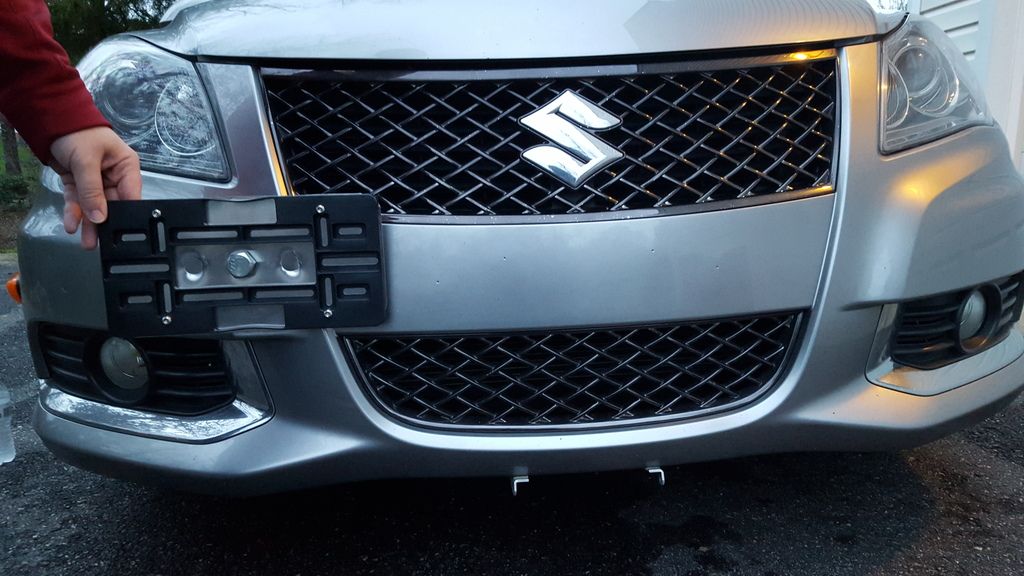
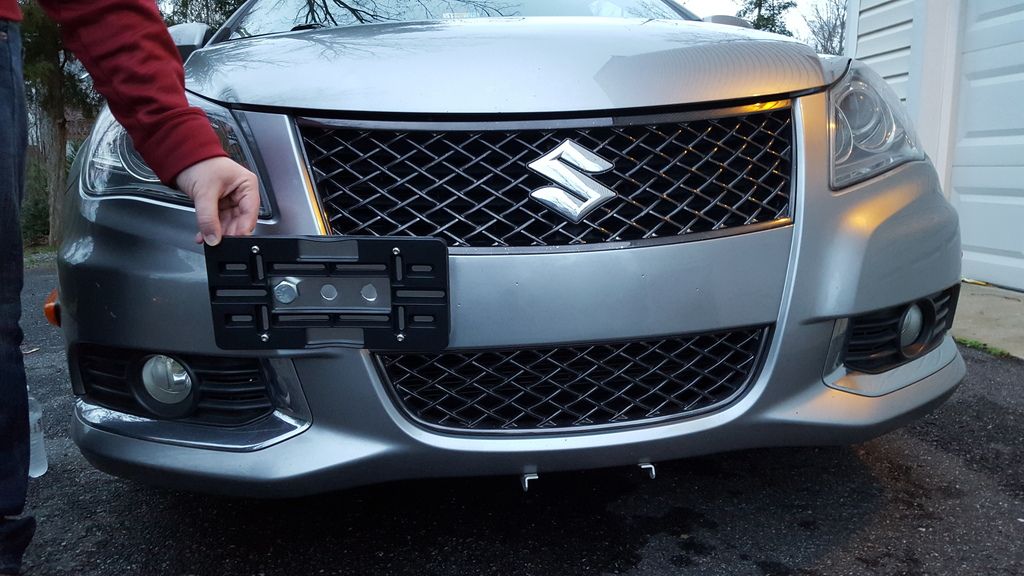
STEP 3) Assembly!
- Decide which hole you want to use and place your bolt plus 1 nut through that hole.
- At this point it would be a good idea to spray some of the lubricant on the bolt threading.
- On the back side of the plate, place the other washer and nut over the bolt threading the nut tight against the washer.
- This part is up to you. Depending on how far the 2nd nut is placed, the license plate will sit either closer or farther
away from the car. Beware however that if it is too far in the plate could hit the bumper, but if too close to the end
of the bolt, there will not be enough threading to sit properly in the tow eye. I went about half way down the bolt. The
2nd nut will also be what causes the nut from screwing all the way into the tow eye as there is no wall for the bolt to
hit on the other end.
- Tighten the bolt so it is snug and will not turn and loosen by hand (a wrench works, tighten the nut on the back of the
washer as well). Once you put the plate on this is no longer accessible unless you take it off.
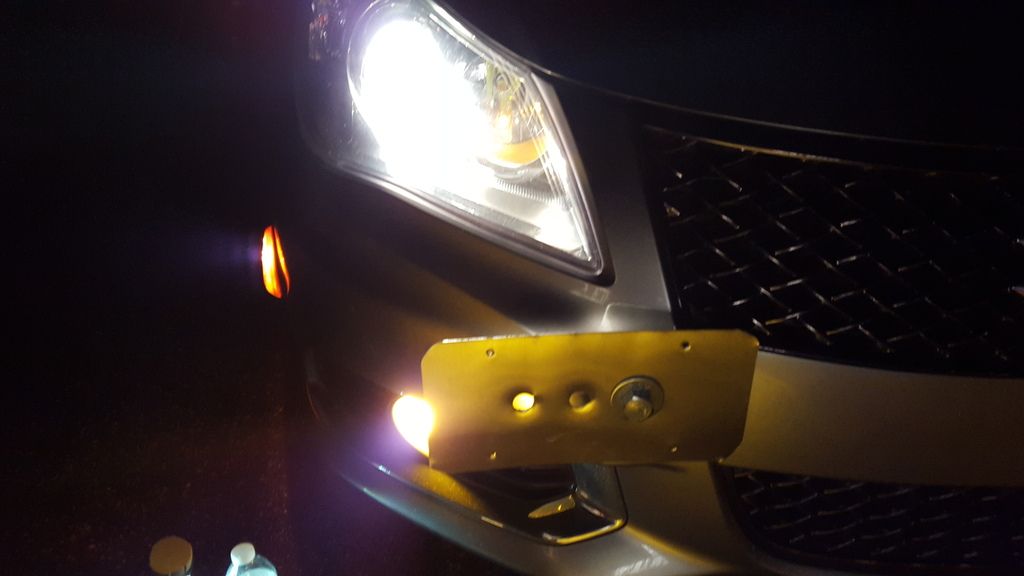
- You will need to remove the screws in order to put your plate on.
- Put the plate on as you normally would, watch for the end of the screws making contact with paint on the bumper.
- You are done! Enjoy a no holes license plate mount!
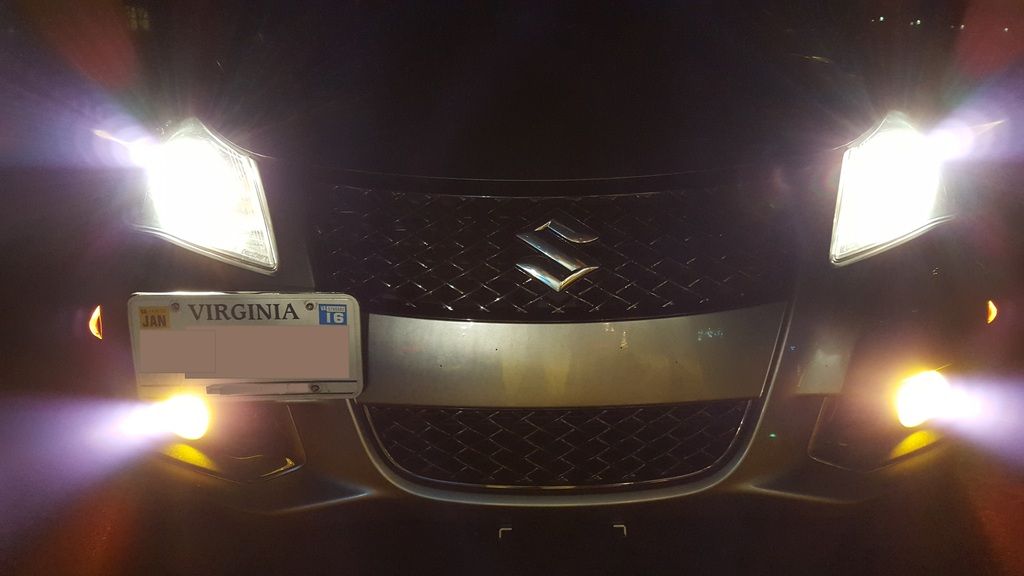
I used the left hole if sitting in the driver's seat.


