Recently, I had to revisit headlight polishing as the UV damage got worse on my headlights. It's an inevitable aspect of plastic headlights on cars that are often parked outdoors during the daytime. It just happens with time. While my headlights never got too bad (due to regular light polishing at car washes), the damage seemed to get worse between the treatments given the age of the vehicle and constant exposure to the California sun as my vehicle is now always parked outdoors with little or no shade.
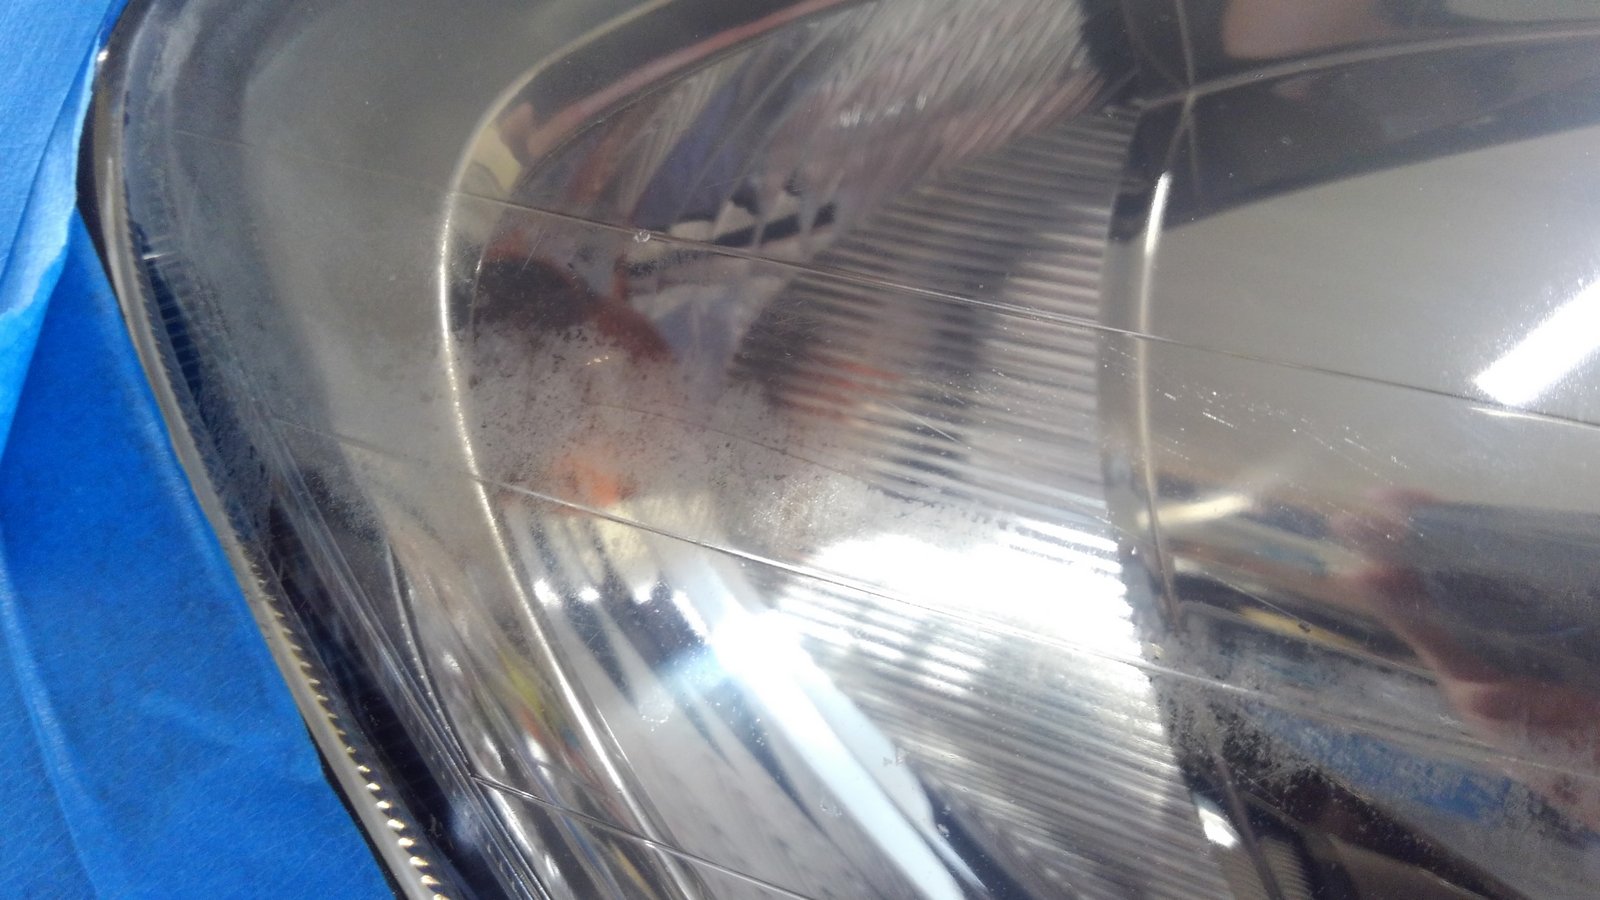
Below is a picture of the headlight prior to any treatment.
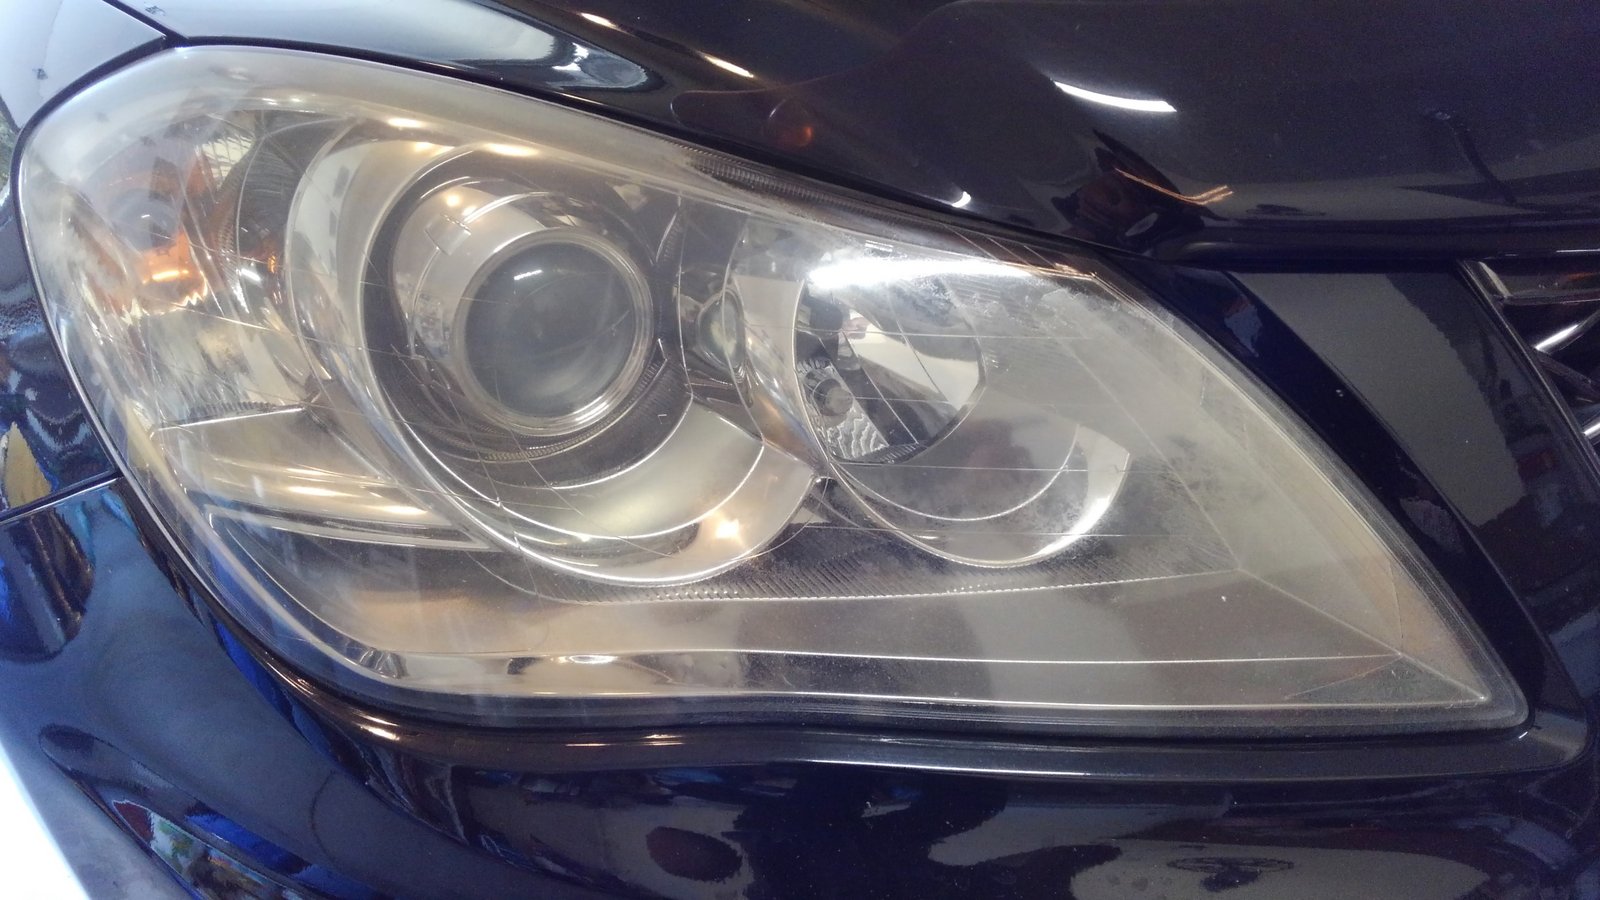
- KIMG0910.JPG (228.24 KiB) Viewed 33911 times
I decided to do a combination of procedures utilizing products from both Meguair's and 3M. Some of the materials were sourced from kits I've used on other cars while others were separately purchased products.
Below are all the materials I used.
- A cordless drill
- A velcro drill adapter to mount pads and discs (included in a 3M headlight polishing kit)
- A foam polishing pad (included in a 3M headlight polishing kit)
- A 3M Trizact 3000 grit sanding disc (included in a 3M headlight polishing kit)
- 3M's Headlight Renewal polish
- Meguiar's Headlight Protectant
- Meguiar's Headlight Coating spray
- Microfiber polishing pad
- Terry cloth polishing pad
- Microfiber towels (for wiping off all products after each application)
- Masking tape
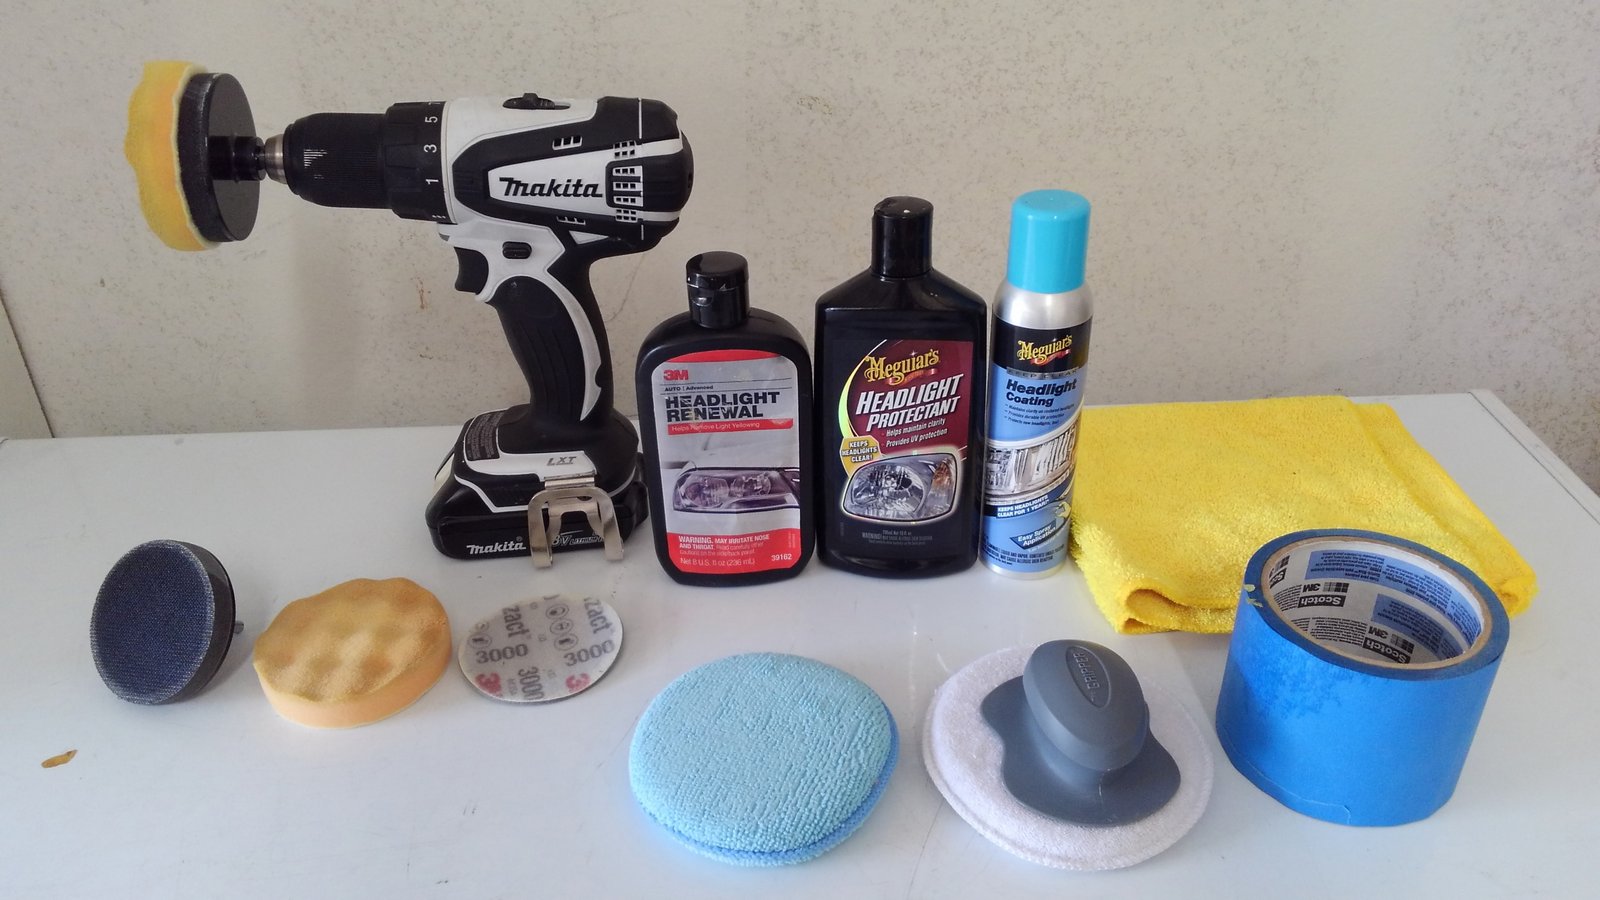
- KIMG0920.JPG (203.28 KiB) Viewed 33911 times
The first step is to wash the headlights thoroughly to get them clean. After drying, I masked up all areas around the headlight to protect the finish from polishing, residue, and over-spray.
The first step was using the 3M Trizact 3000 grit disc with the drill. The Trizact pad is a very very fine abrasive pad that has a chalky texture. I used a combination of low speed and high speed polishing after wetting the headlight and the disc. As it polishes, it leaves a light milky residue which is normal. Given the rather light oxidation and UV damage on my headlights, I needed something just a bit more abrasive than a polish in paste form for the initial step. This pad was the answer.
After the Trizact pad, I used the 3M Headlight Polish which I find more effective than Meguiar's PlastX which I've used in the past. I first put the polish on the orange foam pad and polished the headlight with the drill on low speed. After a thorough polishing, I wiped off the residue and repeated it 2 more times to thoroughly polish the headlight. It's this process and product that really removes the damage from lightly oxidized headlights and restores clarity.
After the drill process, I used the 3M Headlight Polish again but manually with a microfiber pad to get into areas harder to reach with the drill pad. I also used a vertical and horizontal polishing movement unlike the drill's circular movement. After that was done, I wiped it off and buffed.
The next step was with the Meguiar's Headlight Protectant. This is essentially like a wax treatment for headlights whereas the previous product was the actual polish that removes the oxidation. I've used the Protectant in the past, but much like wax, it needs frequent re-application for it to be effective protection. The Protectant is applied by hand much like wax and then wiped off. I used the terry cloth polishing pad for this process.
The last step and the only new one for me this time was the application of Meguiar's Headlight Coating which is a spray. This is a product I hadn't seen until recently in stores. Other forum members here also have tried it (or similar products) and claimed it was a game-changer in clarity restoration and long term protection so I felt like this was the missing link I was looking for to really get that protective seal. It's essentially like a UV-blocking clear coat.
Per the instructions, I sprayed a first layer and let it dry 5 minutes. After the first coating, it had an immediate effect in greatly enhancing the clarity of the headlight to almost like-new condition. While the polish took out nearly all the oxidation and UV damage, this coating spray enhanced the clarity. On a side note, it also smells wonderful which is something I find with many Meguiar's products. They honestly should get into automotive air fresheners because their waxes, polishes, and sprays often smell much better than air fresheners currently available.
After the initial coating dried, I sprayed a 2nd coating and waited 5 minutes. By this time, the headlights looked almost new with amazing clarity.
The next and last step is where I went wrong. I got overly ambitious with the impressive clarity of the Headlight Coating spray and decided to give the headlights a lighter 3rd coating after the 2nd dried completely. Unfortunately, it proved to be too much and actually made the headlights a little opaque (as in a bit greasy) from the near perfect clarity of the 2nd coating. I did it as an extra protective layer given the brutal California sun and heat, but now I see why the instructions only suggest 2 coats. A 3rd is too much. Oops. While the headlights are far from ruined or blurry and certainly in better shape than prior to treatment, my warning is not to do a 3rd coating like I did. It's too much. Lesson learned. I'm not too worried as the coating isn't permanent and I can do it right the next time when the coating inevitably wears off over time and the headlights need treatment again. I'm just hoping it's a good while from now as Meguair's claims the Headlight Coating lasts up to a year.
Overall, the process and the materials yielded excellent results and restored the headlights to like-new condition. Again, just don't do more than 2 sprays with the Meguair's Headlight Coating as a 3rd just makes it look greasy. Hopefully, this product is the key to keeping the headlights clear over time.
Now some before and after photos:
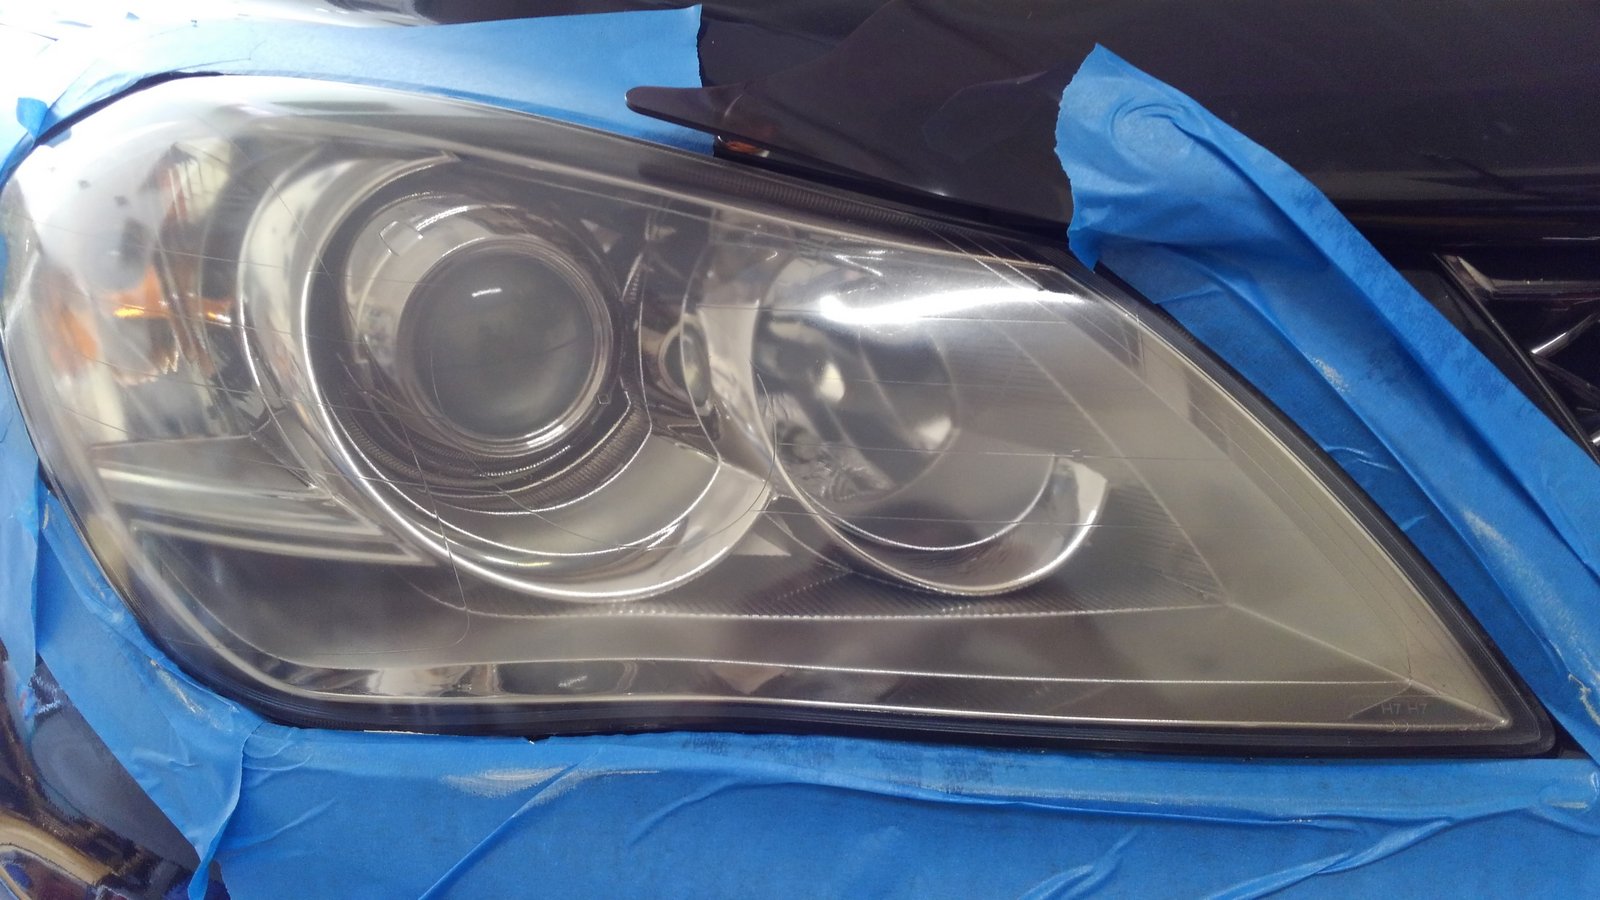
Before:
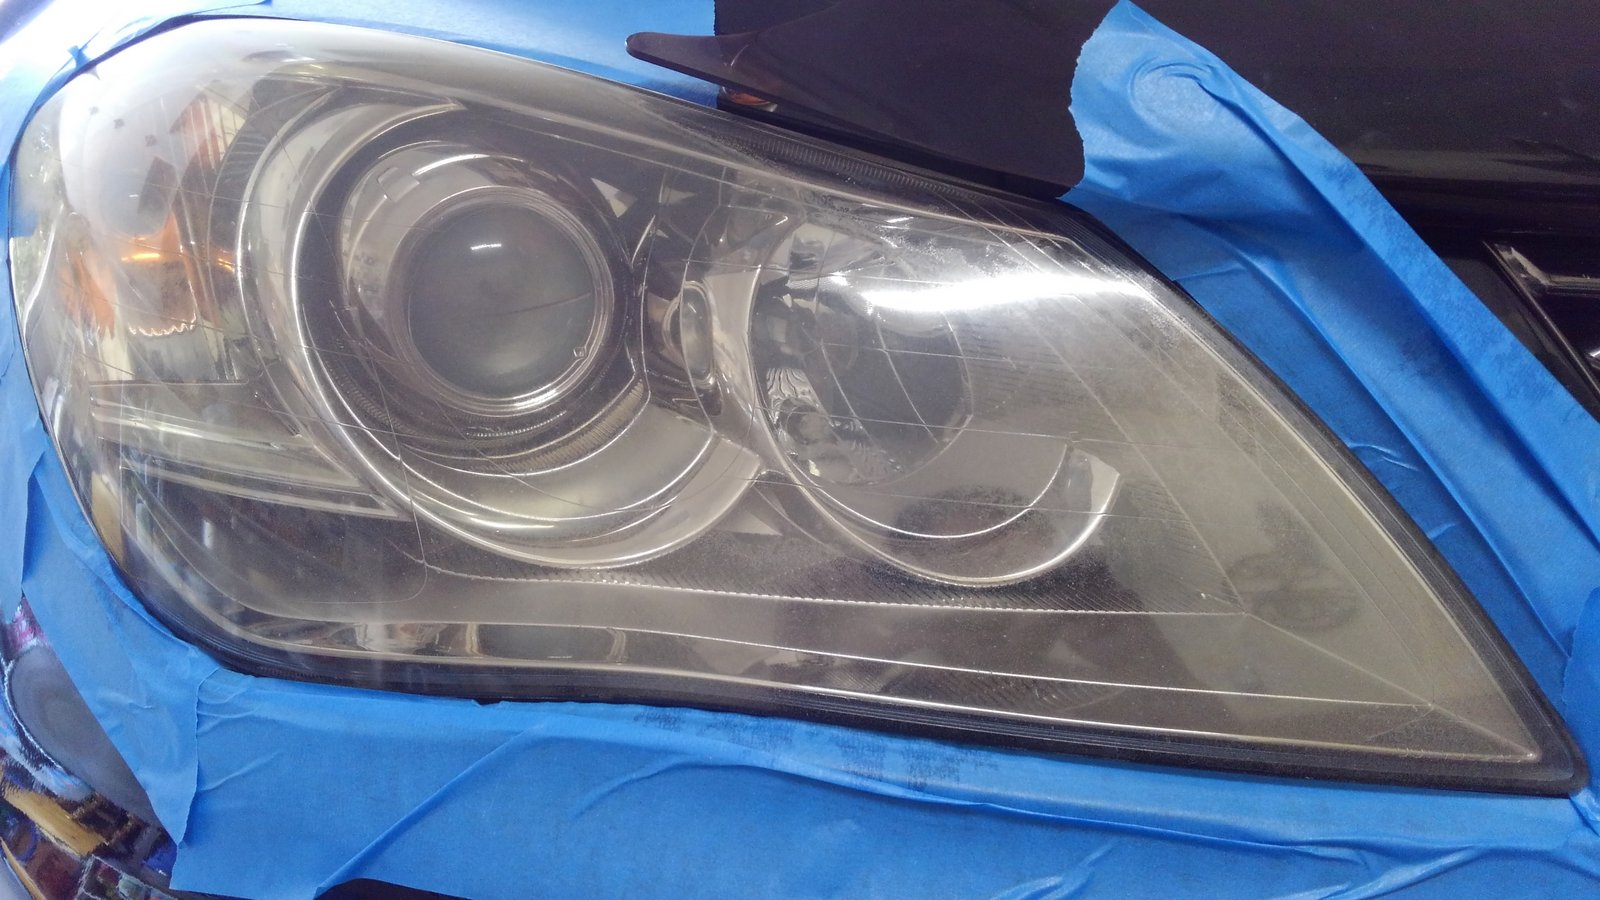
- KIMG0913.JPG (245.69 KiB) Viewed 33911 times
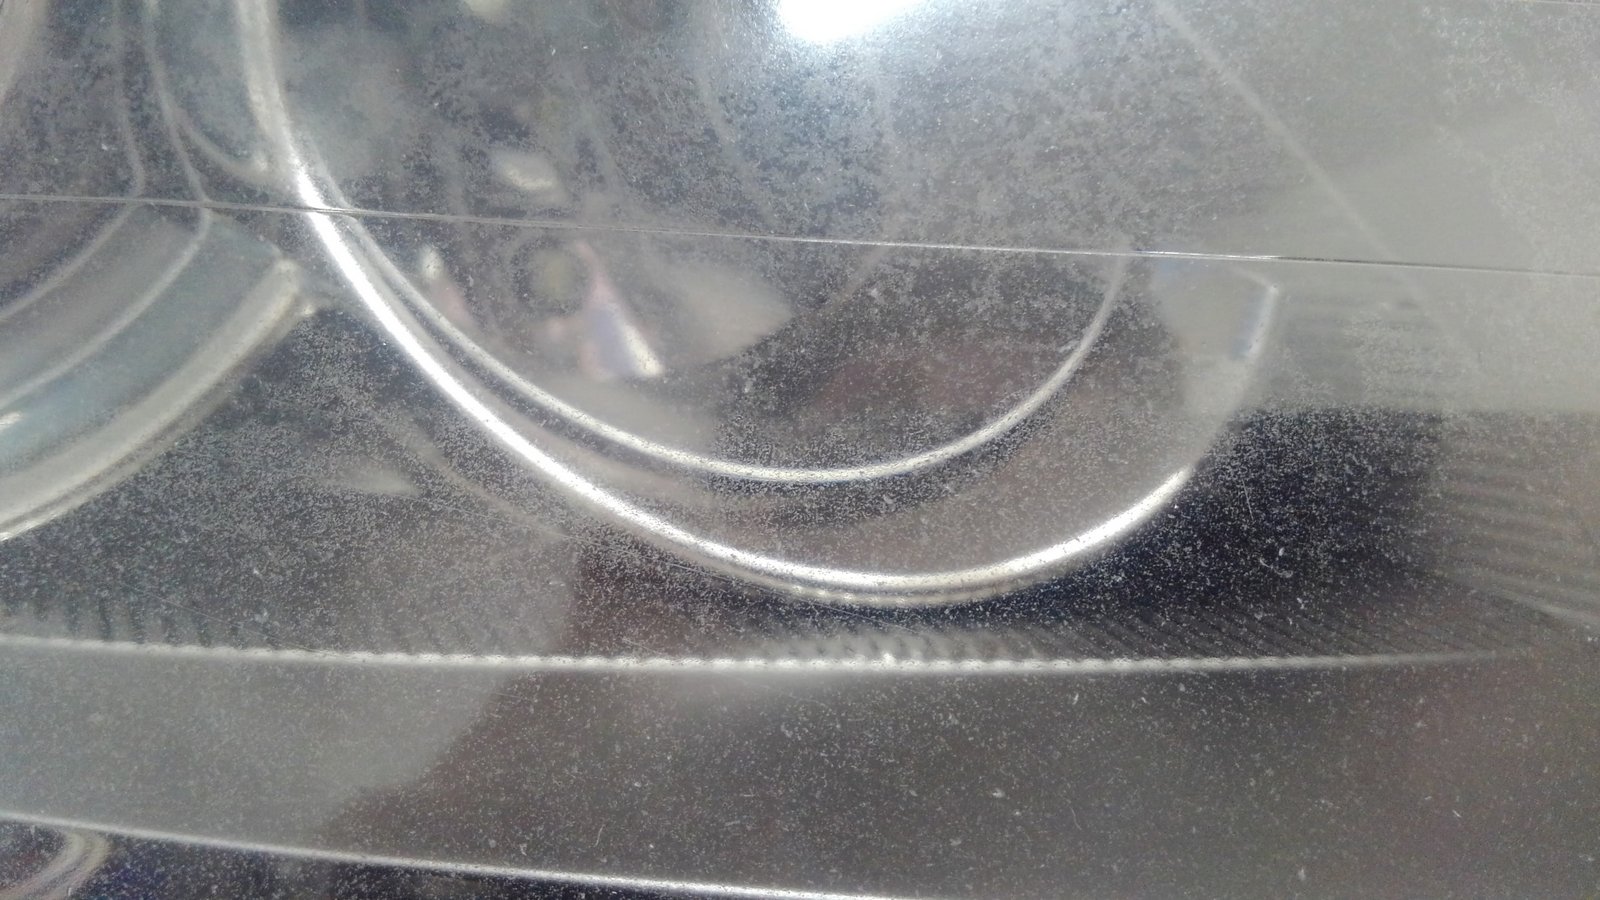
- KIMG0914.JPG (265.46 KiB) Viewed 33911 times
- KIMG0917.JPG (197.46 KiB) Viewed 33911 times
After:
- KIMG0922.JPG (213.71 KiB) Viewed 33911 times
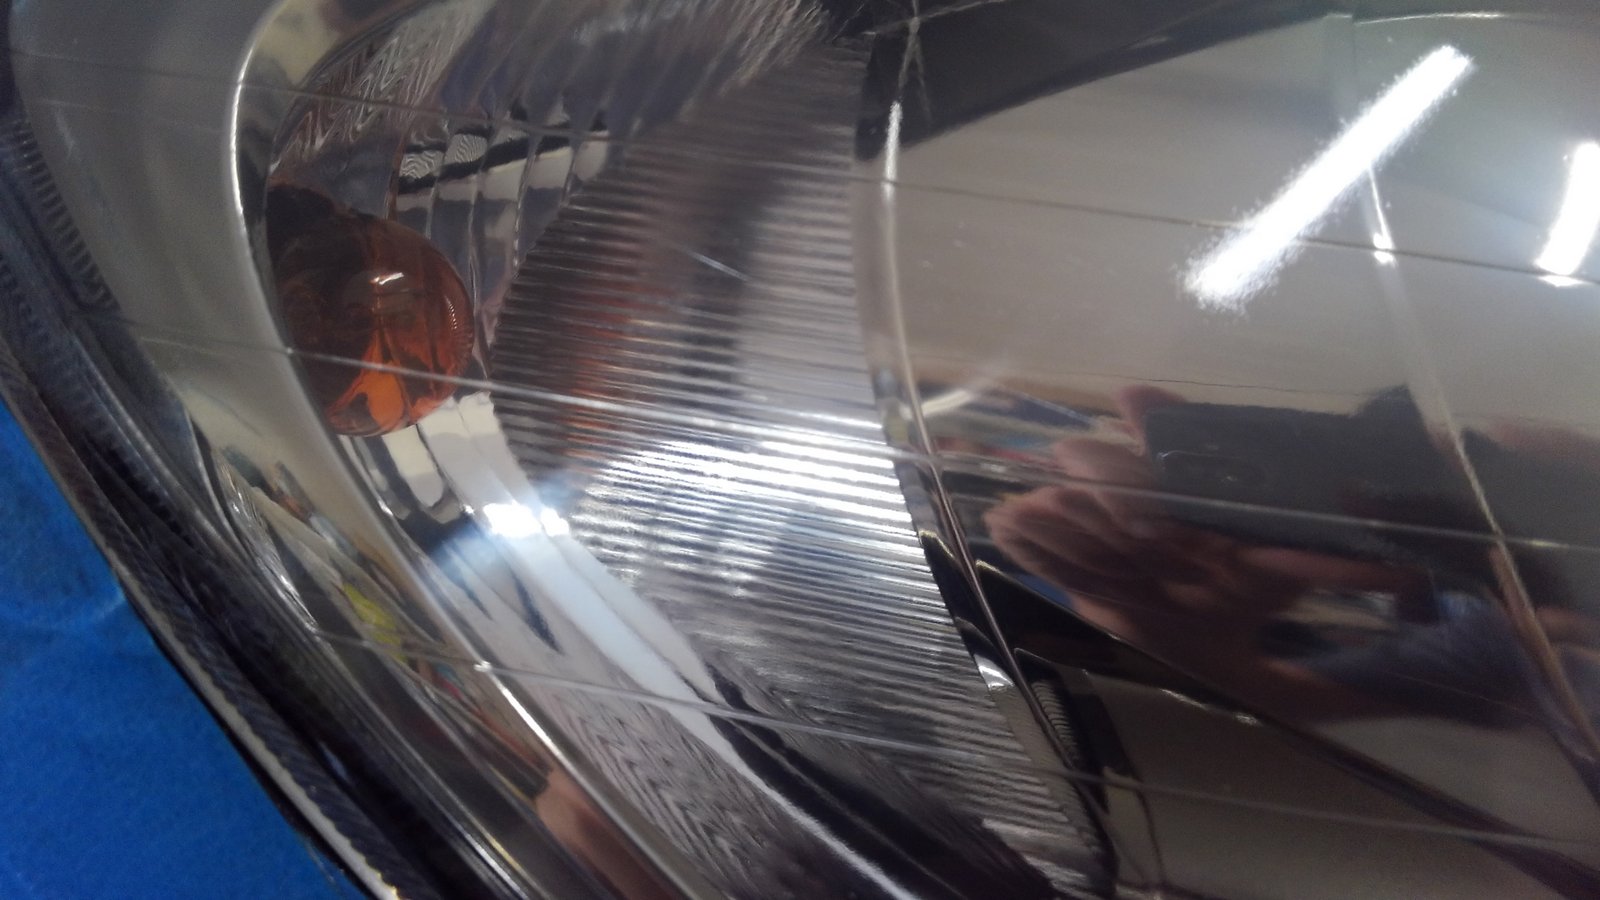
- KIMG0925.JPG (179.33 KiB) Viewed 33911 times